Ultimate Guide to Nail Art: Top Trends and Techniques for 2024
Welcome to the vibrant world of nail art—a dynamic space where fashion meets creativity and personal style shines bright. As we dive into 2024, the nail art scene is buzzing with innovative trends and exciting products.
Whether you’re a seasoned nail artist or a DIY enthusiast, this guide will explore the top trends and offer detailed tutorials to elevate your nail game.
Nail Art Trends for 2024
This year brings a mix of futuristic designs and nostalgic throwbacks, all sure to turn heads. Here’s a look at what’s hot in nail art right now:
Chrome Nails

Prepare to dazzle with chrome nails that reflect light with a mirror-like finish. These futuristic nails are perfect for those who love a high-gloss look and are sure to catch the light (and some admiring glances) wherever you go.

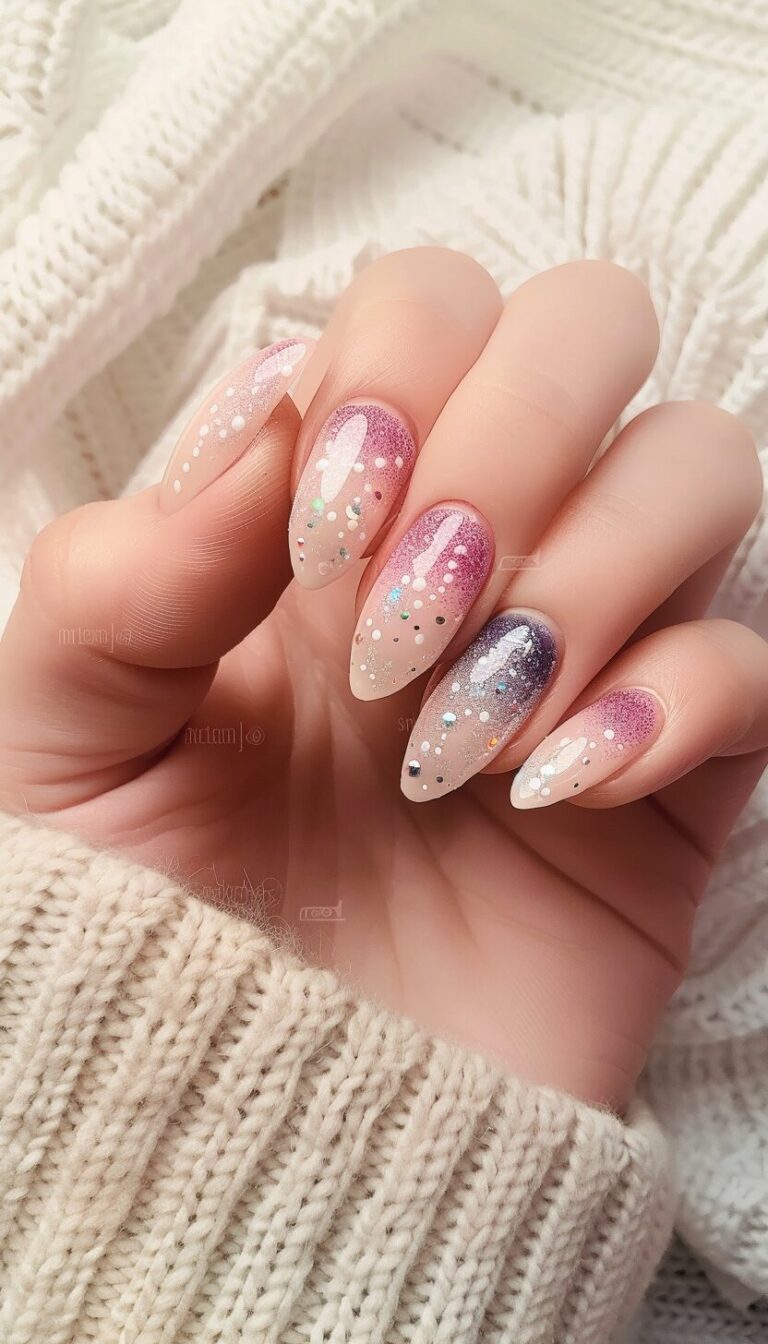
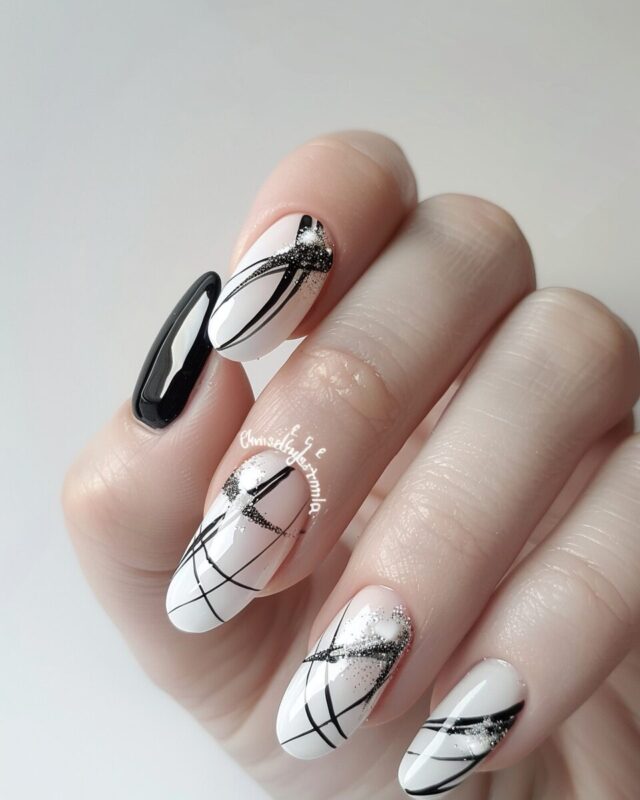
Negative Space Designs
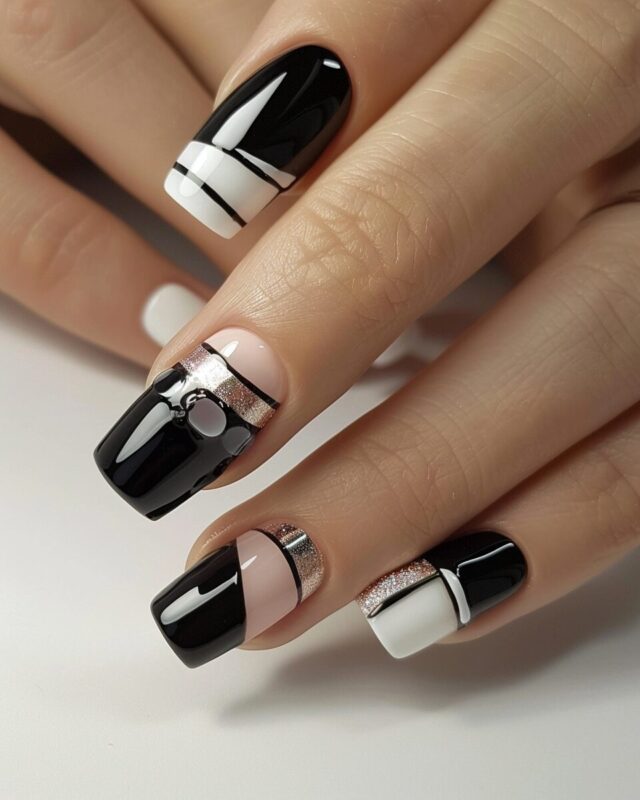
For those who adore a sleek, minimalist aesthetic, negative space designs are your go-to. This trend uses the natural color of your nail as part of the design, creating sophisticated patterns that are both subtle and striking.
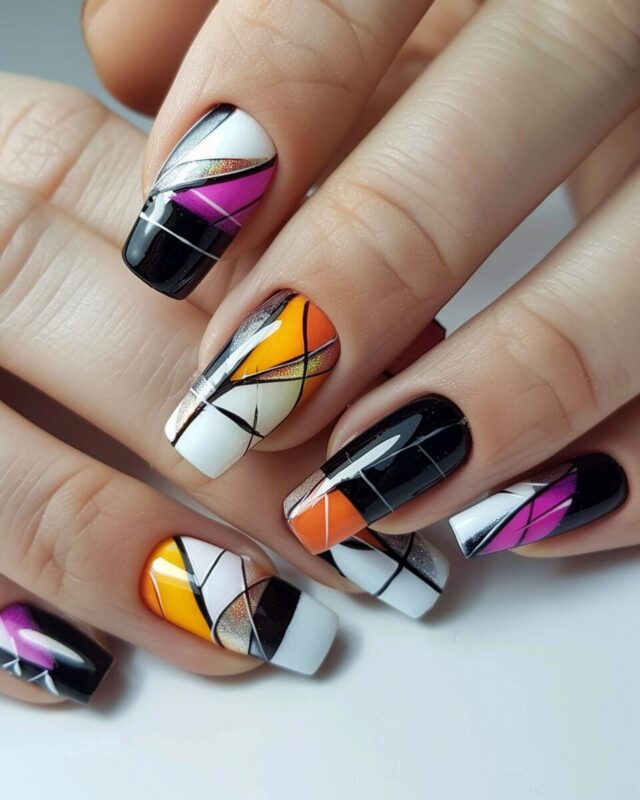
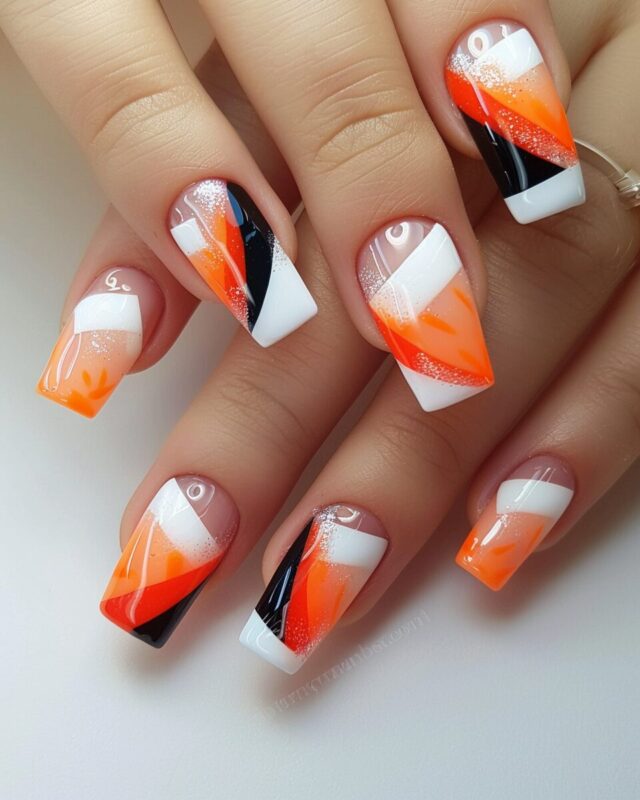
Bold Neon

Neon is back in a big way! Bold, bright, and impossible to ignore, neon nails are your ticket to making a statement. From electric blues to fiery oranges, these are perfect for anyone looking to add a splash of color to their look.

Step-by-Step Tutorials
Let’s break down how to achieve some of these trendy looks with easy-to-follow tutorials.
Chrome Nails
- Apply Base Coat: Start with a clear base coat to protect your nails.
- Metallic Polish: Apply two coats of your chosen metallic polish. Silver or gold works great for a classic chrome look.
- Chrome Powder: While the polish is still tacky, gently dab on chrome powder using a sponge applicator.
- Seal It: Finish with a top coat to seal in the shine.
Negative Space Art
- Base Coat: Always start with a clear base.
- Tape It Off: Use tape to block off areas of your nail that will stay polish-free.
- Paint: Apply your chosen polish around the tape.
- Reveal: Carefully remove the tape while the polish is still wet, then let it dry.
- Top Coat: Apply a top coat to smooth everything out.
Neon Statement Nails
- Base Color: Start with a white base coat to make the neon colors pop.
- Apply Neon: Choose your neon polish and apply two coats for vibrant color.
- Add Designs: Use a thin brush to add geometric shapes or lines if desired.
- Top Coat: Finish with a clear top coat to protect your design.

Must-Have Nail Art Tools and Products
To achieve these looks, you’ll need the right tools. Here’s what every nail artist should have in their kit:
- Quality Nail Polishes: Invest in high-quality polishes for the best finish and durability.
- Detailing Brushes: For intricate designs, a set of detailing brushes is essential.
- Top and Base Coats: Good quality top and base coats are crucial for long-lasting wear.
- Chrome Powder and Sponges: For chrome nails, you’ll need chrome powder and small sponge applicators.
Tips for Perfect Nail Art
- Patience is Key: Allow each layer to dry completely to avoid smudging.
- Clean Up: Use a thin brush dipped in polish remover to clean up the edges around your nails.
- Experiment: Don’t be afraid to try new designs or mix trends.
Conclusion
Nail art is an exciting way to express your personal style and creativity. With these trends and tips, you’re well on your way to becoming a nail art aficionado. Experiment with these looks and find your favorite!
Don’t forget to share your creations and pin your favorite designs from this guide. Let’s spread the beauty of nail art together!